Best Photo
|
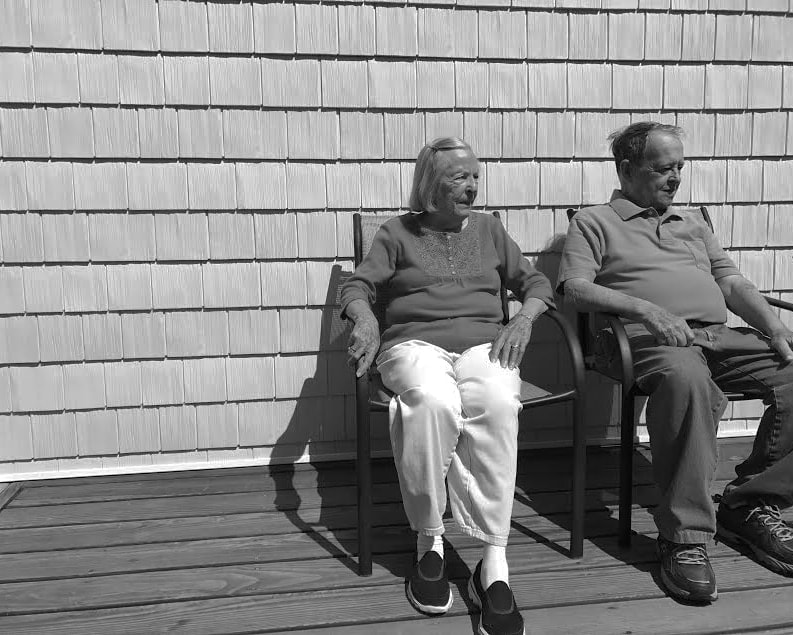
This photo is taken of my grandparents on their porch. Compositionally the elements and principles that are present is pattern from the shingles, line, contrast in color from the white and black clothes and depth. This piece is meaningful to me because it's family. If I were to recreate this photo I would have changed the angle.
|
|
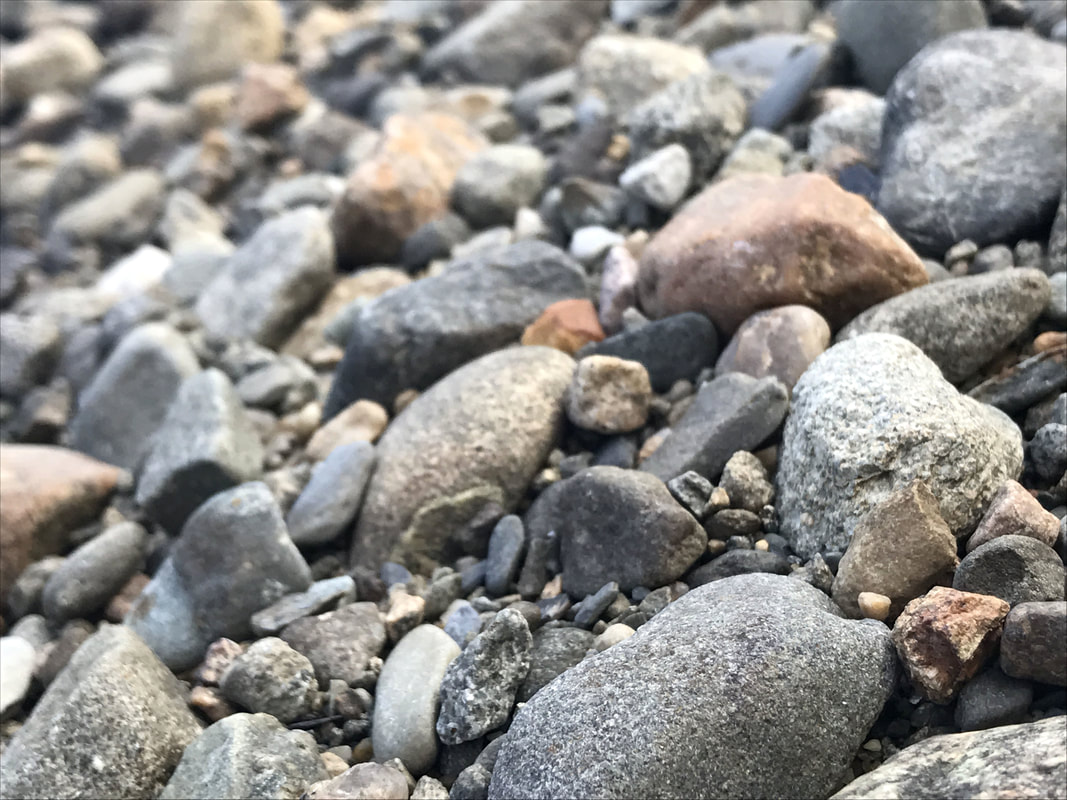
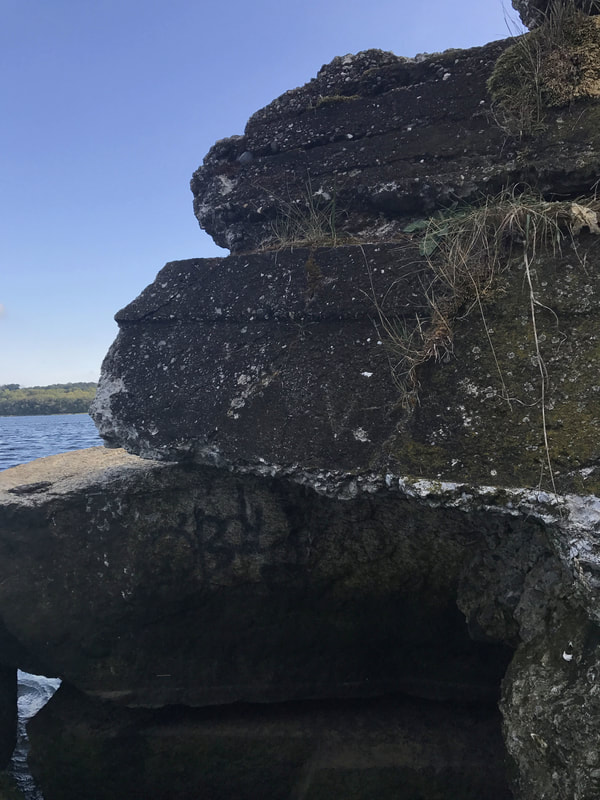
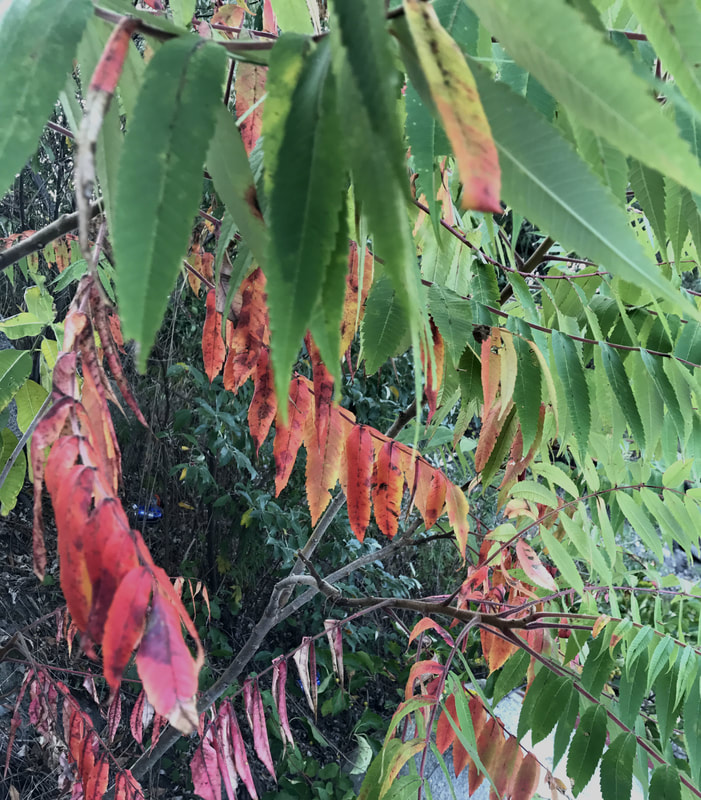
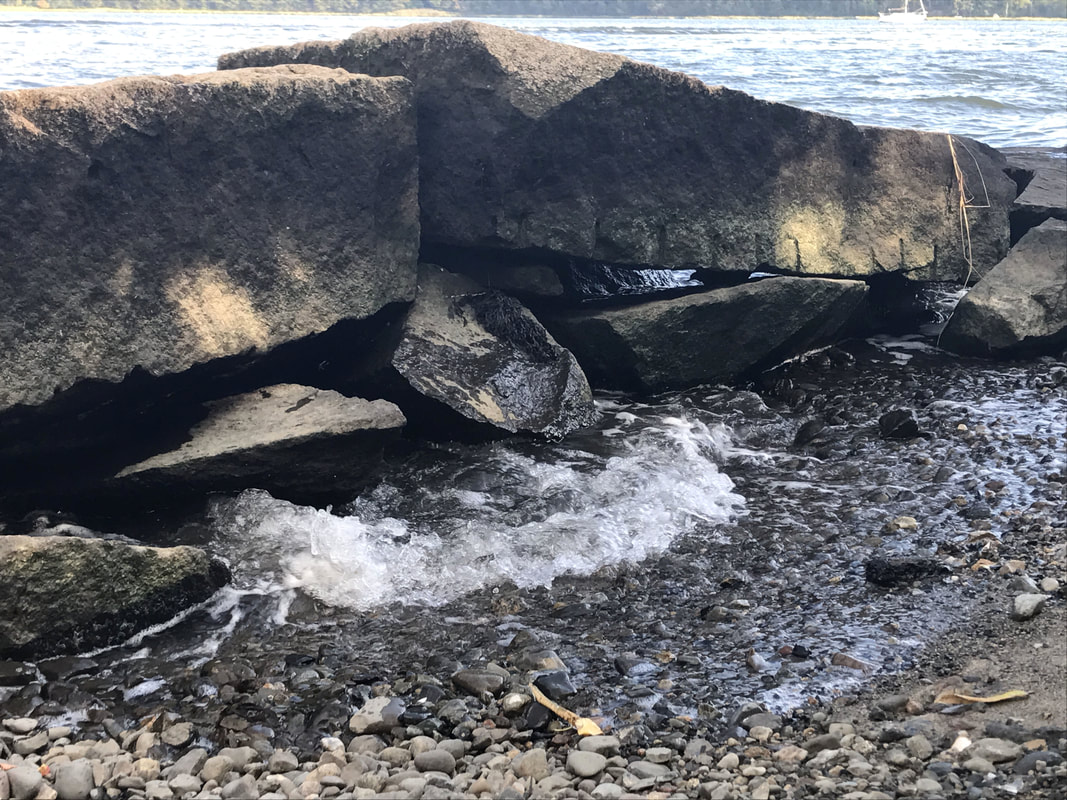
Dice Assignment
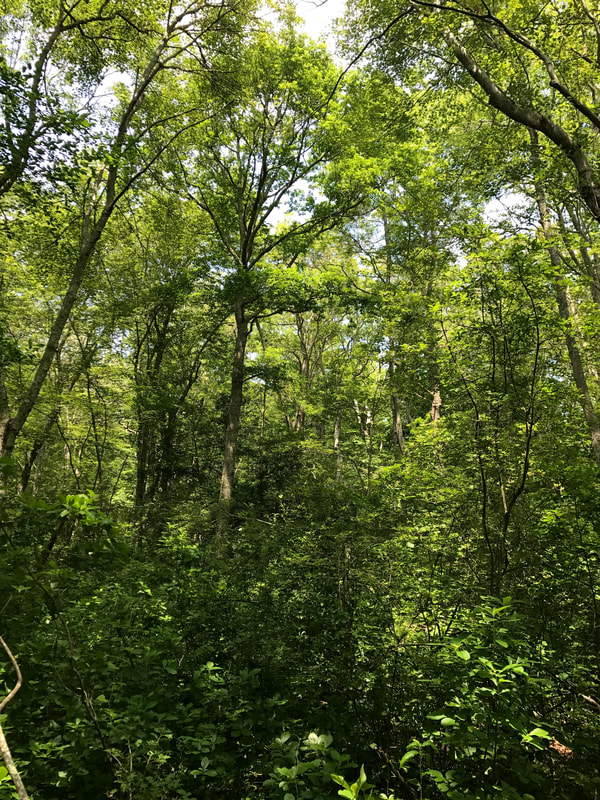
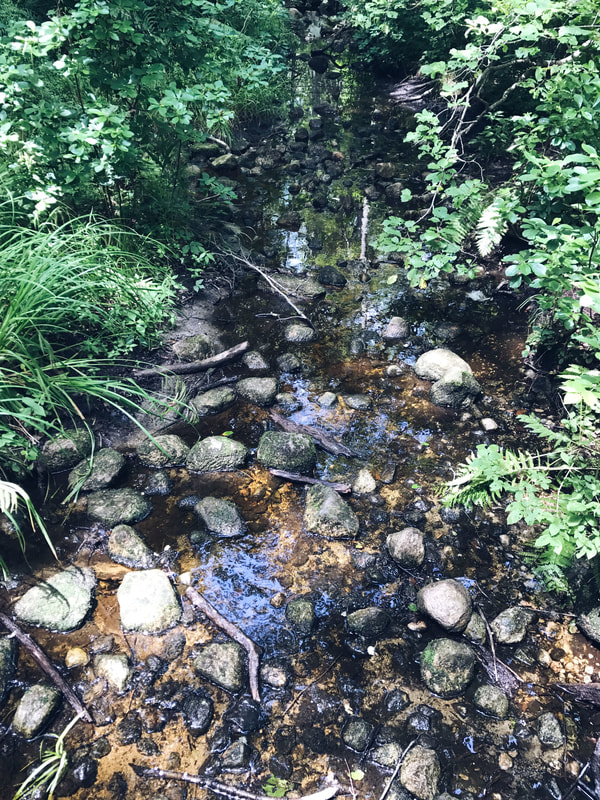
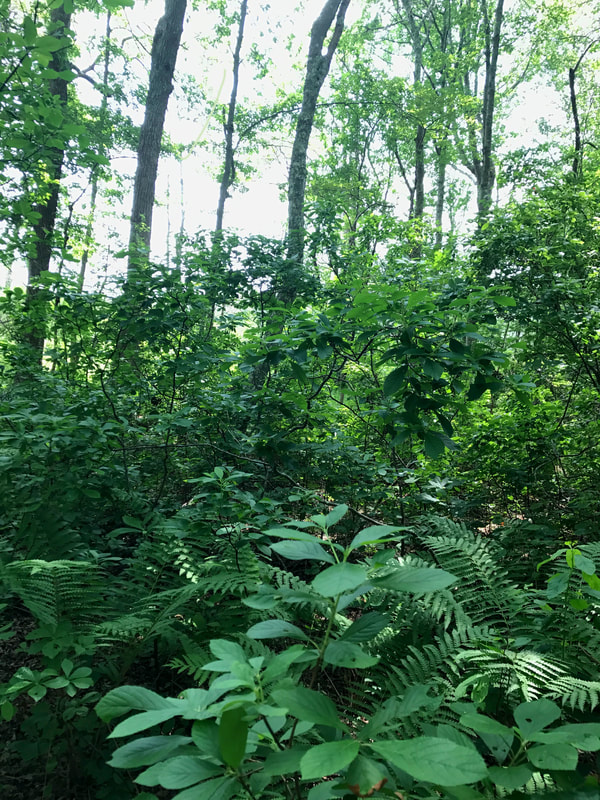
Location: Cornell Farms in Dartmouth
Directions for each roll:
1) Look to the left
2) Look to the right
3) Look down
4) Look up
5) Look straight ahead
6) Choose your own
Directions for each roll:
1) Look to the left
2) Look to the right
3) Look down
4) Look up
5) Look straight ahead
6) Choose your own
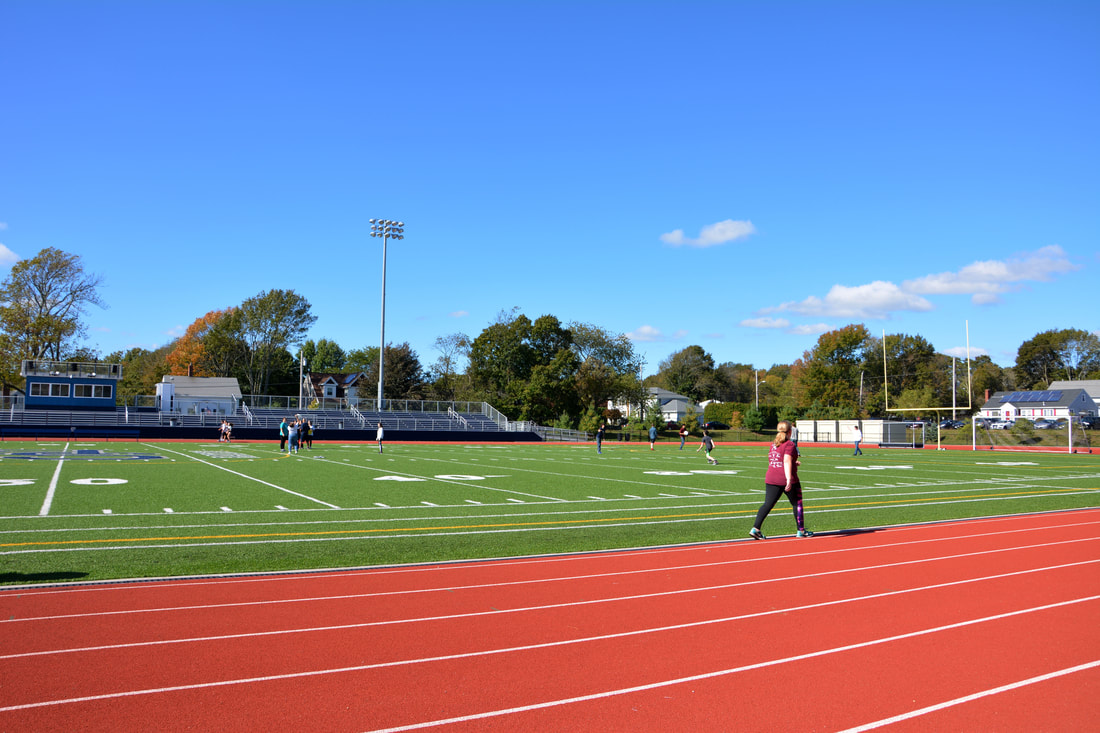
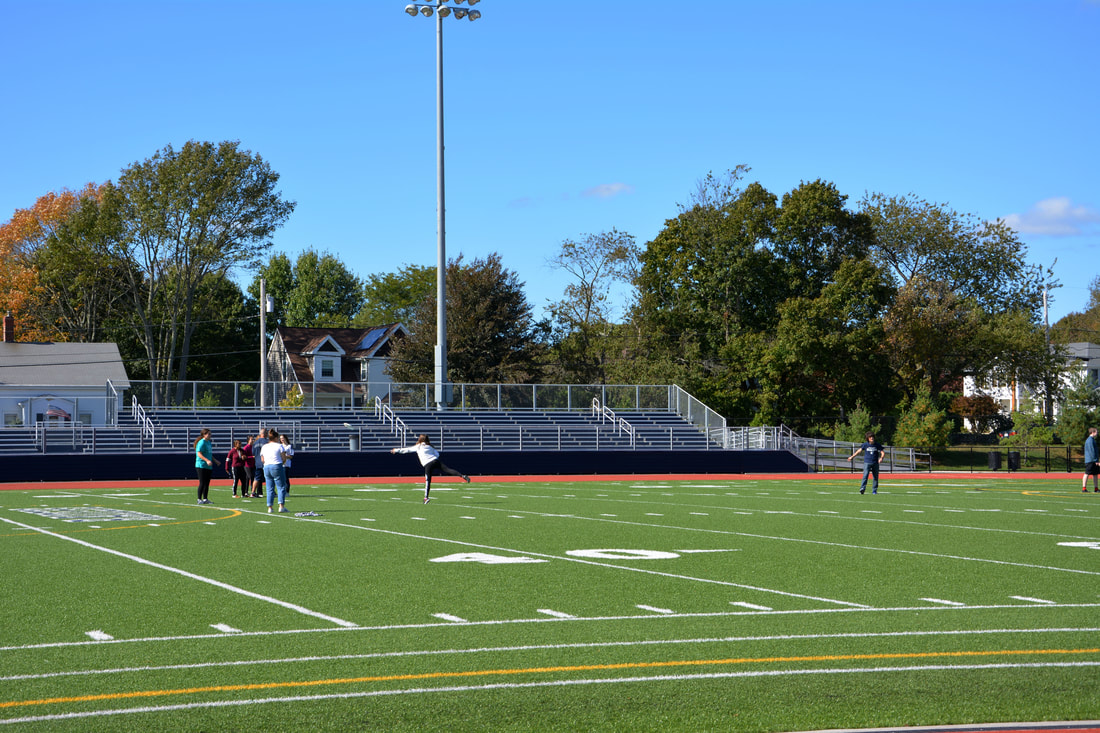
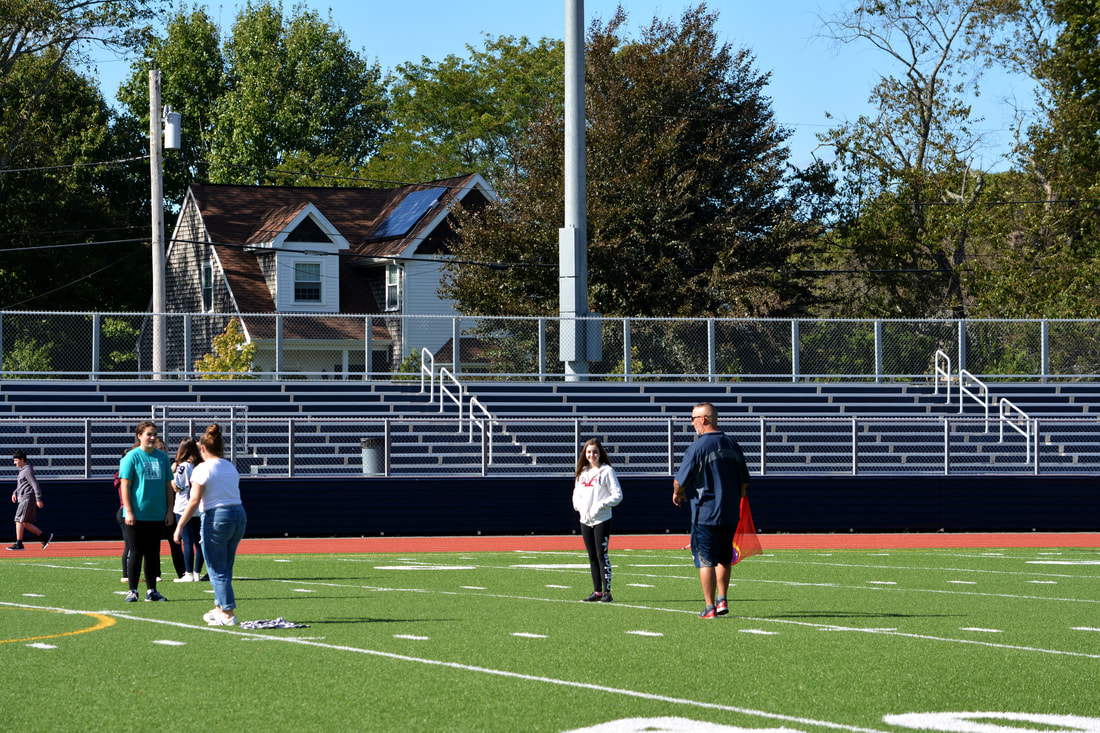
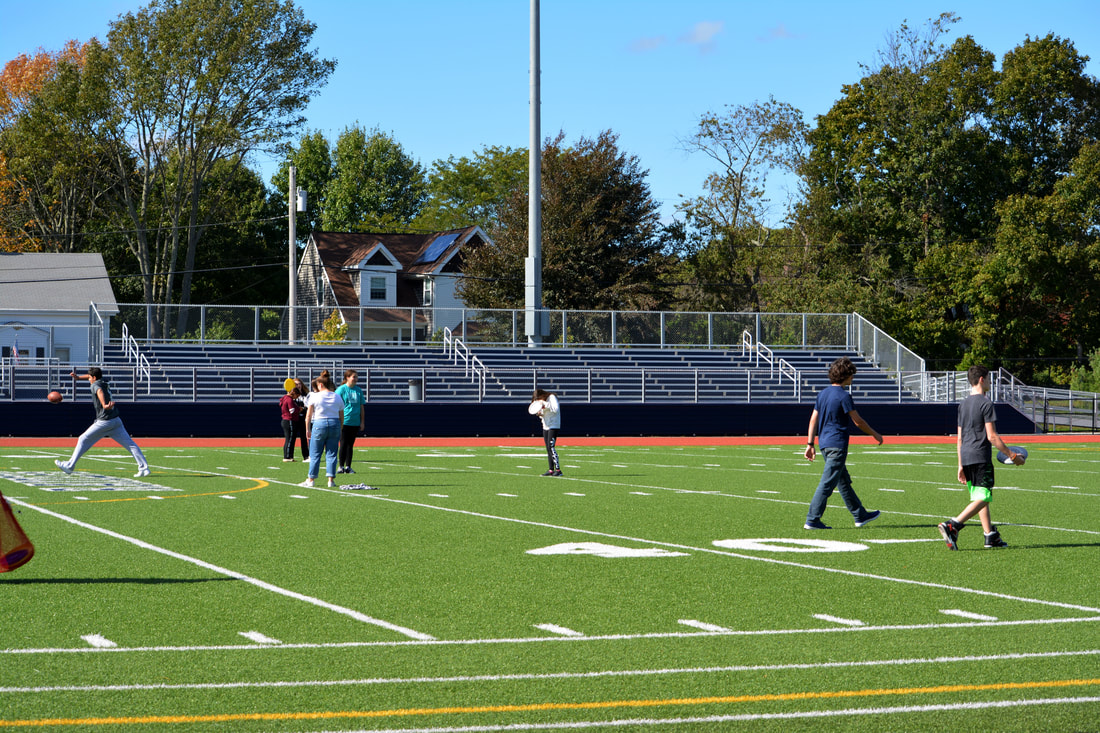
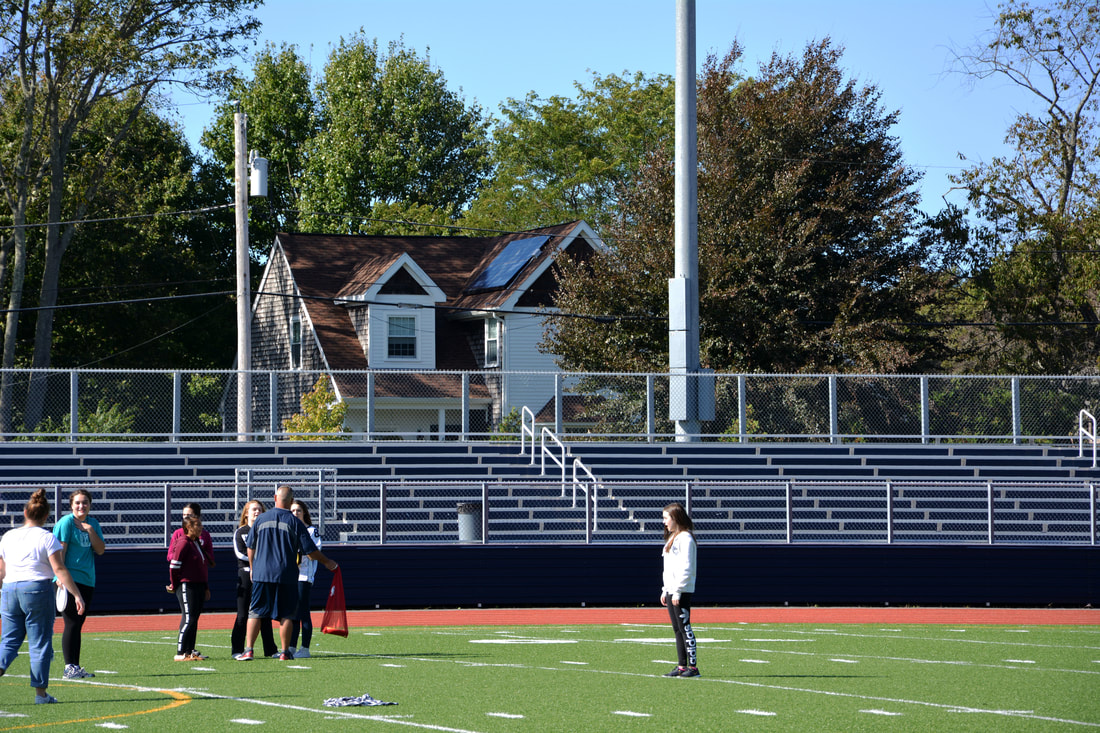
Somerset Community
Capturing Light

Before and After Channel Mixer


Color

Vibrance Adjustment


Pinhole Camera
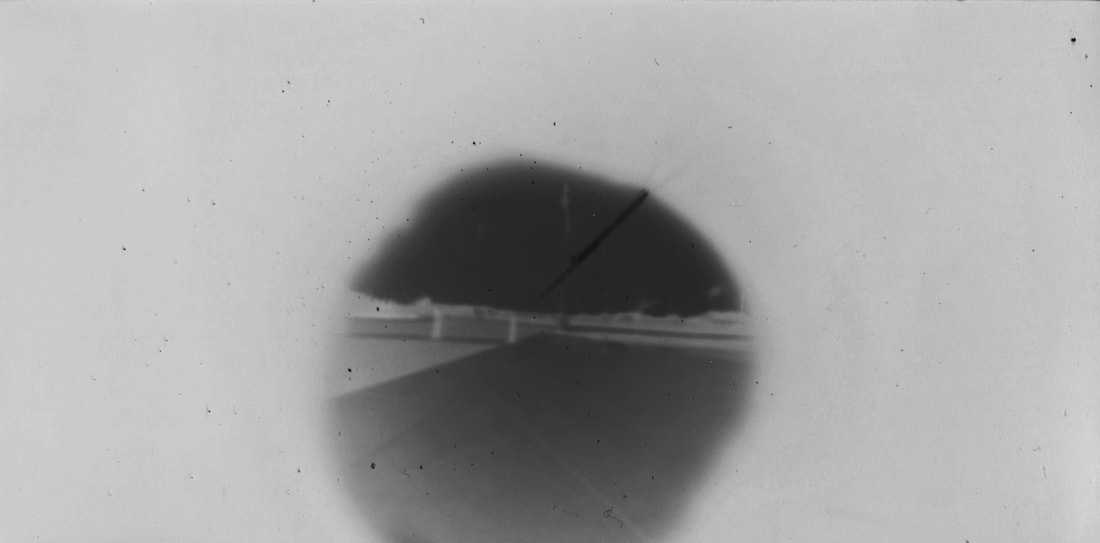
1) Define Camera Obscura
Camera Obscura is a darkened box with a convex lens or aperture for projecting the image of an external object onto a screen inside. It is important historically in the development of photography.
2) Explain the steps to create, expose and process a pinhole camera image:
Step 1. Gather your materials such as camera box, tape, needle and light sensitive paper.
Step 2. Take your camera box and use the needle to pop a minuscule hole through the middle.
Step 3. Take a small piece of tape and place it over the hole so no light goes in.
Step 4. Take the light sensitive paper and a small piece of tape. Place the tape under the paper and stick the paper inside of the bottom of the box.
Step 5. Close the box and wrap tape around the edges to ensure that no light is being transferred into the box.
Step 6. Find a location for your box and then place it where you would like.
Step 7. After a few days you will then take your camera box and begin to open it.
3) How did you create a shutter and aperture on your pinhole camera body?
I created a shutter and aperture by making the hole with a needle. The aperture was extremely small and we closed to shutter with the black electrical tape.
4) What was the focal length of the cameras?
It was the distance between the hole and the light sensitive paper.
5) Where did you place your camera and what was your exposure time?
I placed my pinhole camera on the trash can in-front of the school. The exposure time was about 3 days.
6) What was the light source for the exposure?
The sun was the light source of the exposure.
7) After taking down your camera and seeing the results, how did the image appear on the light sensitive paper?
The light sensitive paper appeared as a very light pink color. Also the image was flipped upside down which made it harder to visualize what it looked like.
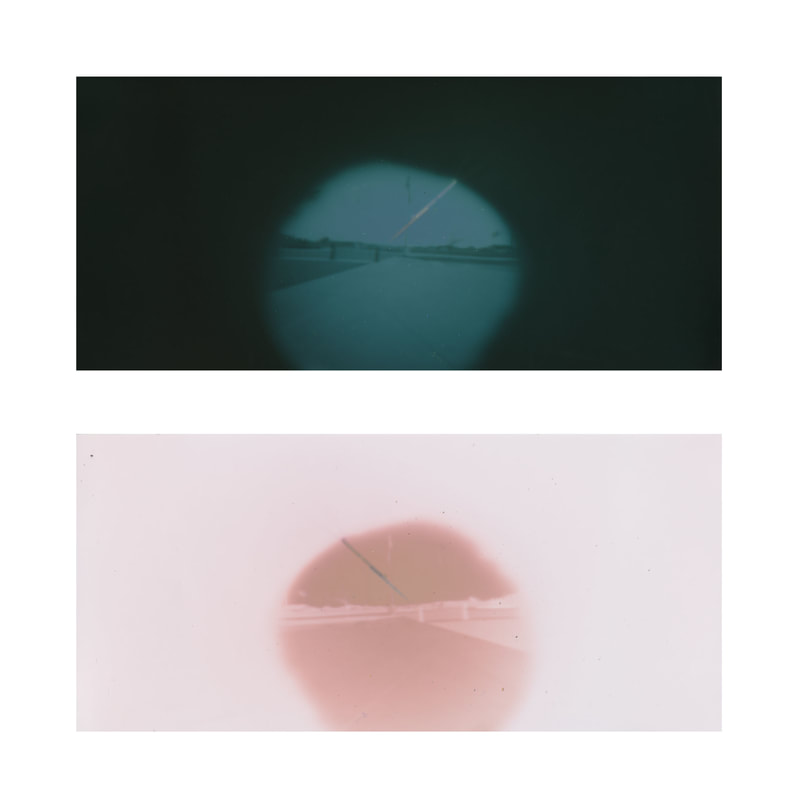
8) Explain the steps you took to "process" your pinhole negative with the scanner and Photoshop.
Step 1. Take the light sensitive paper and put it in the scanner at the top right corner.
Step 2. Save as your name and press scan.
Step 3. After it's done scanning crop the photo so there are no edges.
Step 4. Email the photo to yourself.
Step 5. Upload your pinhole photo into Photoshop.
Step 6. In photoshop, you will need to flip the photo horizontally and then click on invert.
9) Finally, what surprised you about your results? If you could re-do the process, what would you do differently to change your results?
What surprised me about my results was how in only 3 days it captured such a clear image of where my camera box was looking at. If I could re-do this process I would have put it in a different place so I had an image more close up.
Camera Obscura is a darkened box with a convex lens or aperture for projecting the image of an external object onto a screen inside. It is important historically in the development of photography.
2) Explain the steps to create, expose and process a pinhole camera image:
Step 1. Gather your materials such as camera box, tape, needle and light sensitive paper.
Step 2. Take your camera box and use the needle to pop a minuscule hole through the middle.
Step 3. Take a small piece of tape and place it over the hole so no light goes in.
Step 4. Take the light sensitive paper and a small piece of tape. Place the tape under the paper and stick the paper inside of the bottom of the box.
Step 5. Close the box and wrap tape around the edges to ensure that no light is being transferred into the box.
Step 6. Find a location for your box and then place it where you would like.
Step 7. After a few days you will then take your camera box and begin to open it.
3) How did you create a shutter and aperture on your pinhole camera body?
I created a shutter and aperture by making the hole with a needle. The aperture was extremely small and we closed to shutter with the black electrical tape.
4) What was the focal length of the cameras?
It was the distance between the hole and the light sensitive paper.
5) Where did you place your camera and what was your exposure time?
I placed my pinhole camera on the trash can in-front of the school. The exposure time was about 3 days.
6) What was the light source for the exposure?
The sun was the light source of the exposure.
7) After taking down your camera and seeing the results, how did the image appear on the light sensitive paper?
The light sensitive paper appeared as a very light pink color. Also the image was flipped upside down which made it harder to visualize what it looked like.
8) Explain the steps you took to "process" your pinhole negative with the scanner and Photoshop.
Step 1. Take the light sensitive paper and put it in the scanner at the top right corner.
Step 2. Save as your name and press scan.
Step 3. After it's done scanning crop the photo so there are no edges.
Step 4. Email the photo to yourself.
Step 5. Upload your pinhole photo into Photoshop.
Step 6. In photoshop, you will need to flip the photo horizontally and then click on invert.
9) Finally, what surprised you about your results? If you could re-do the process, what would you do differently to change your results?
What surprised me about my results was how in only 3 days it captured such a clear image of where my camera box was looking at. If I could re-do this process I would have put it in a different place so I had an image more close up.
Prime Lenses


Zoom Lenses 18-105mm
Zoom Lenses 55-300mm
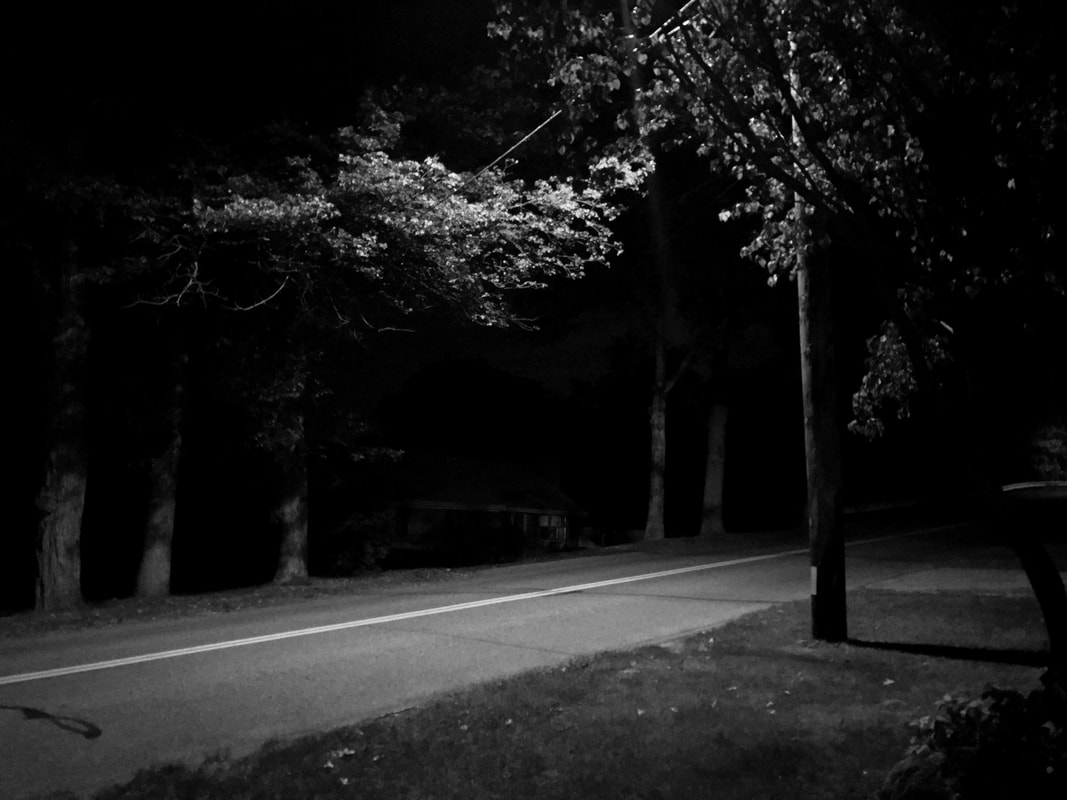
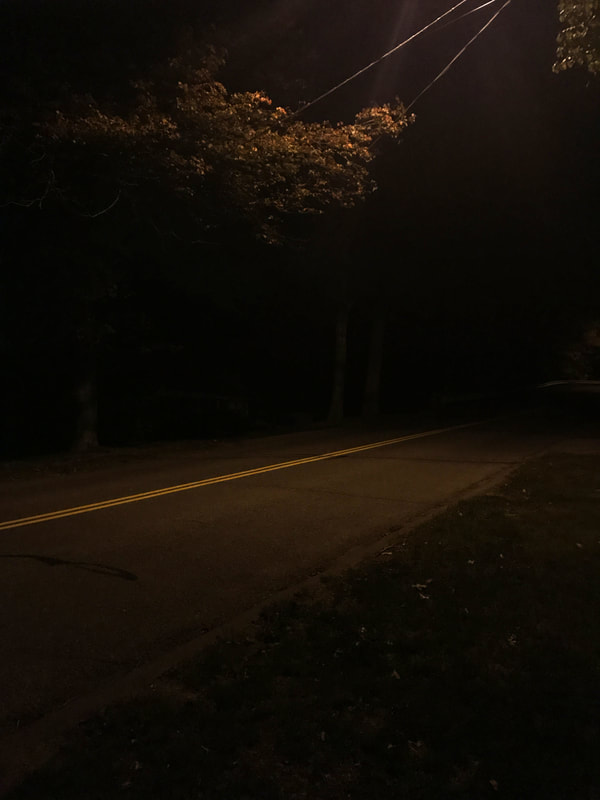
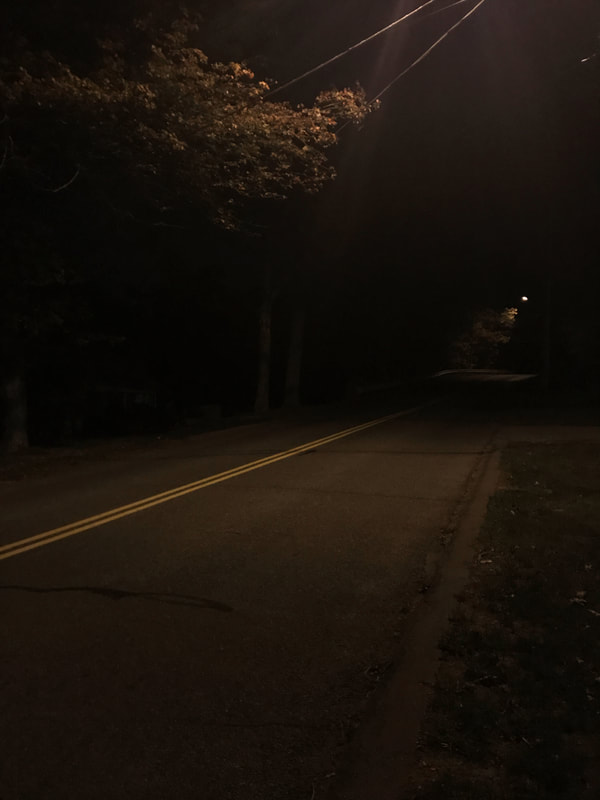
Night Photography
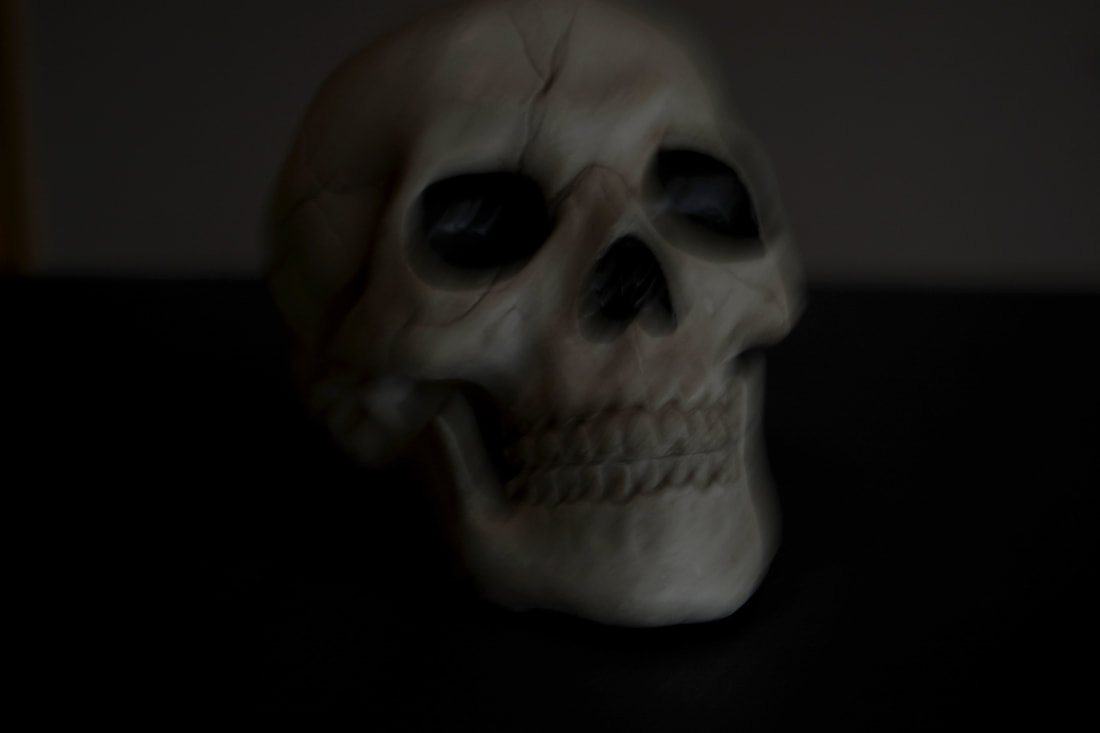
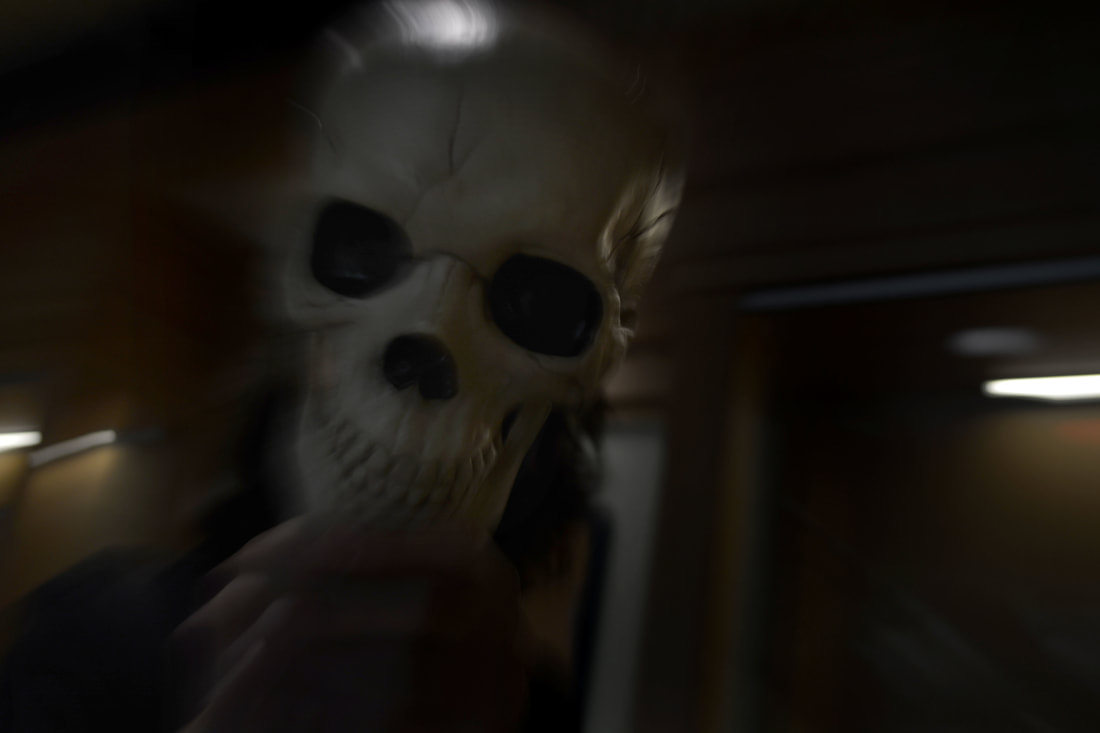
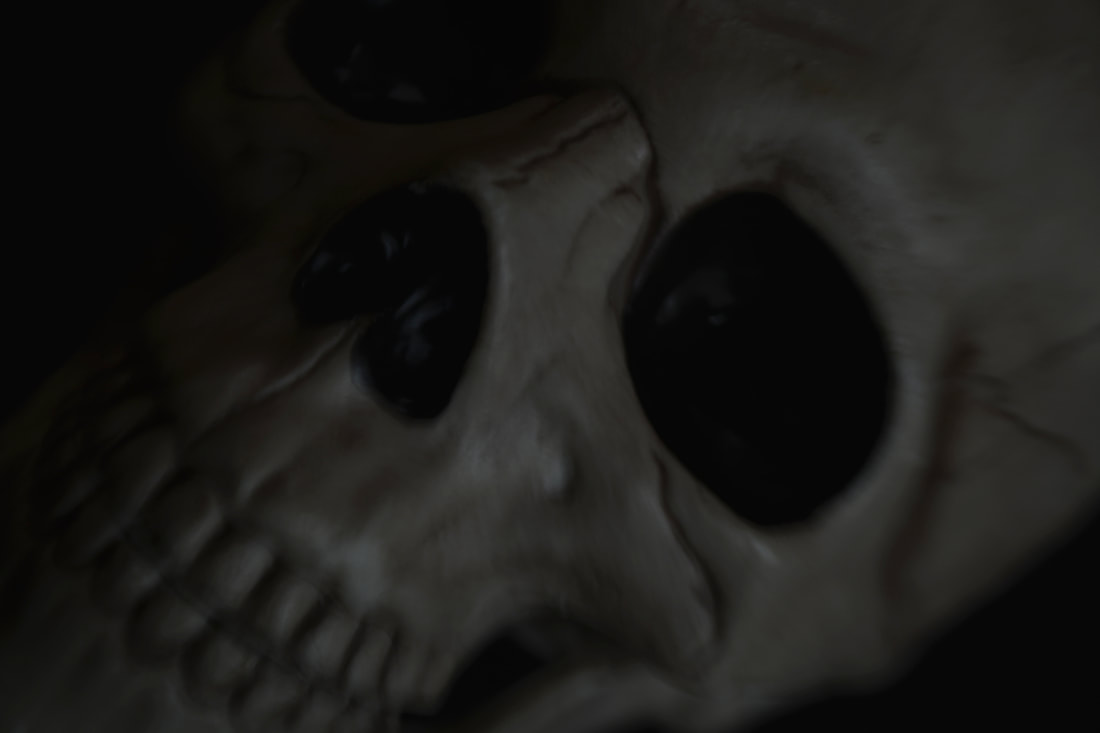
Spooky
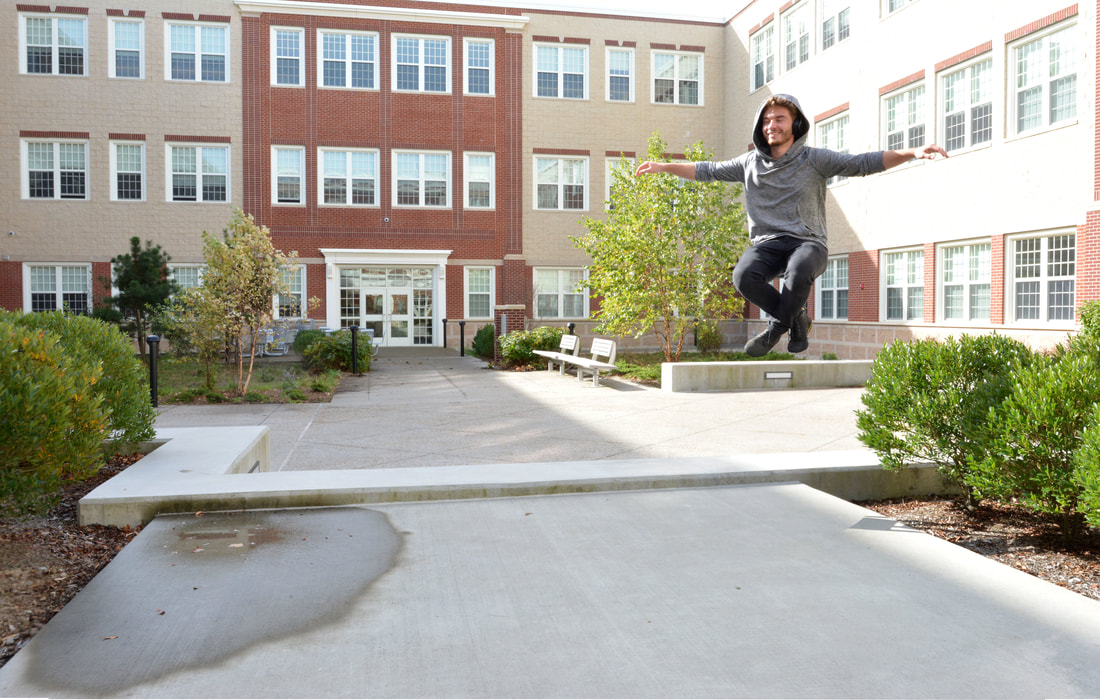
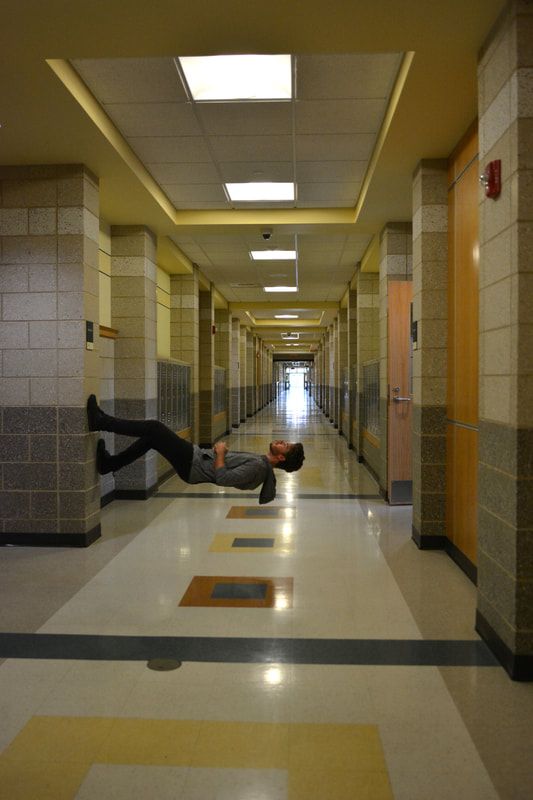
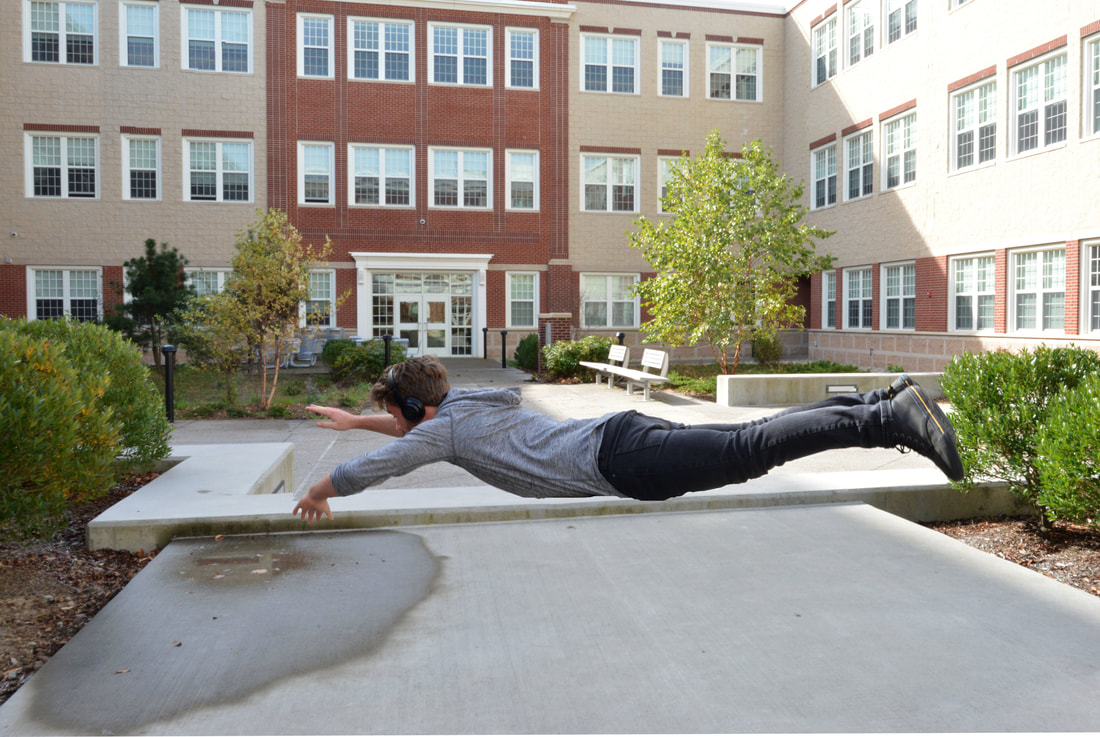
Levitation
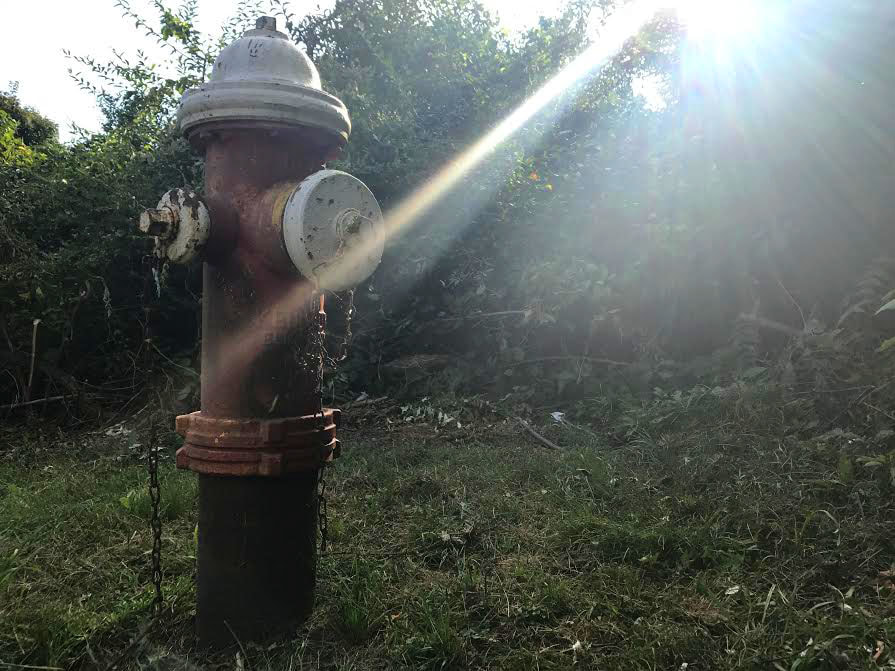
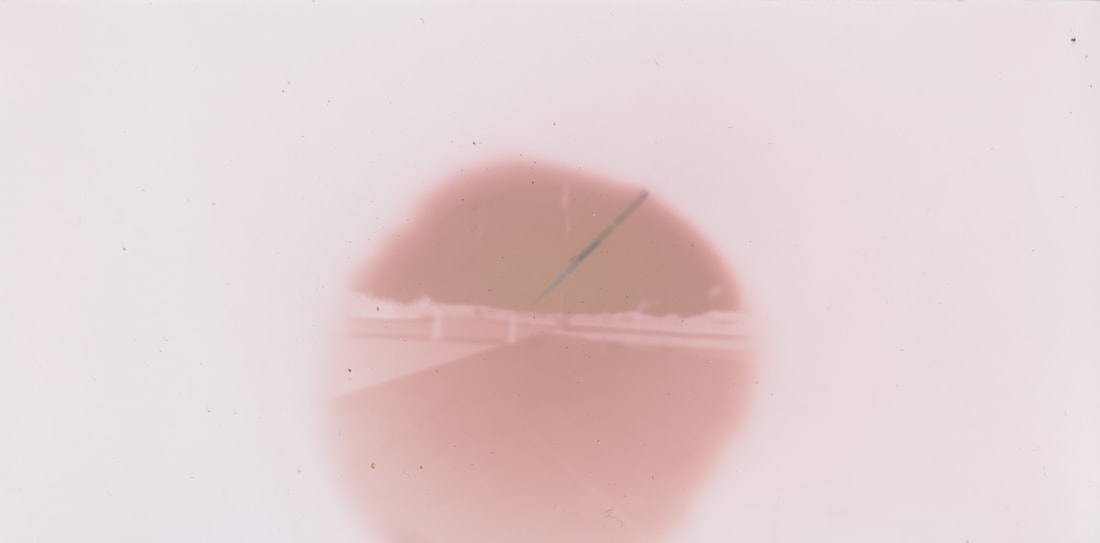
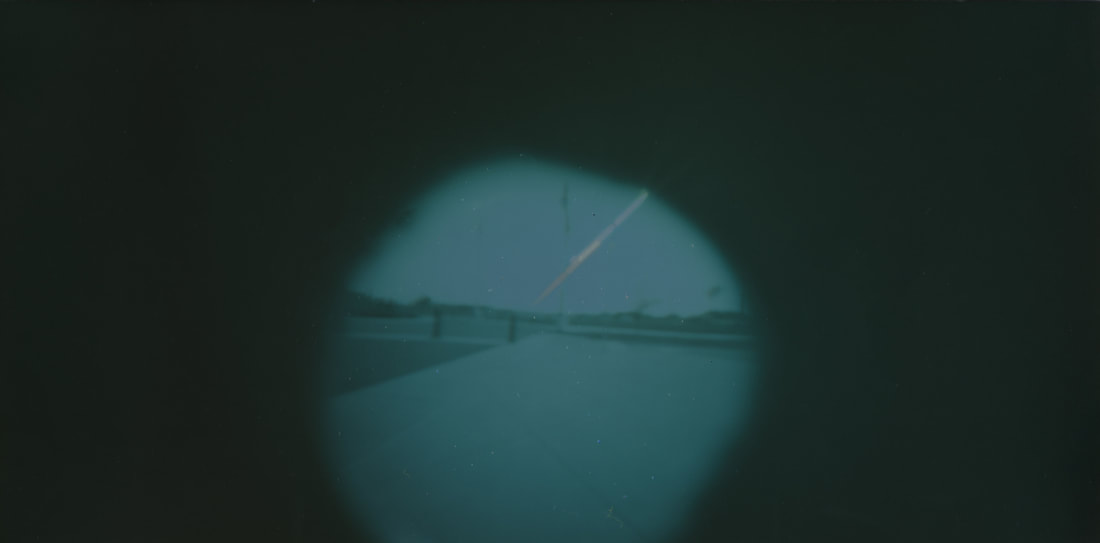
Pinhole Camera Out Of School
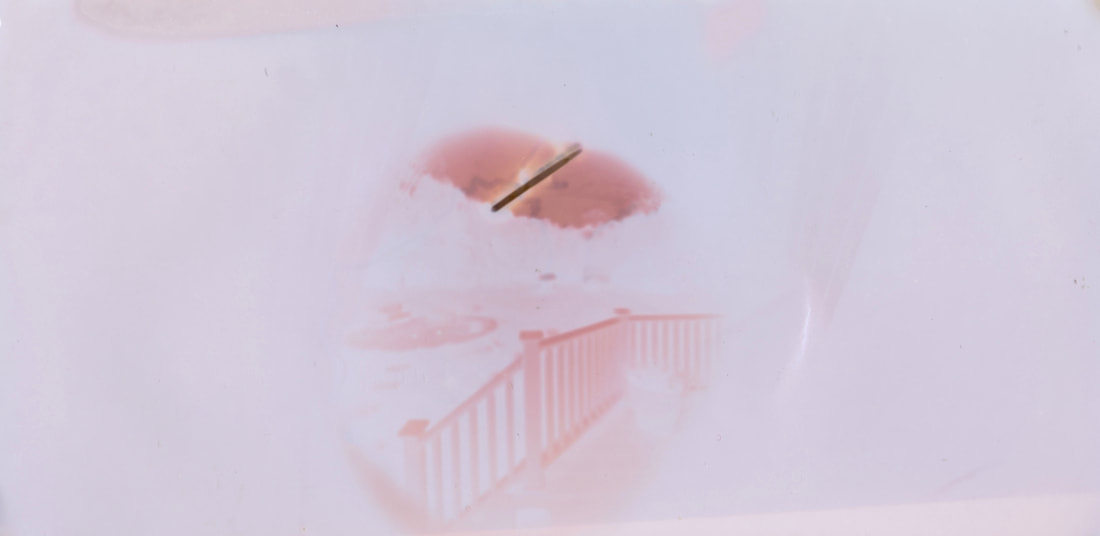
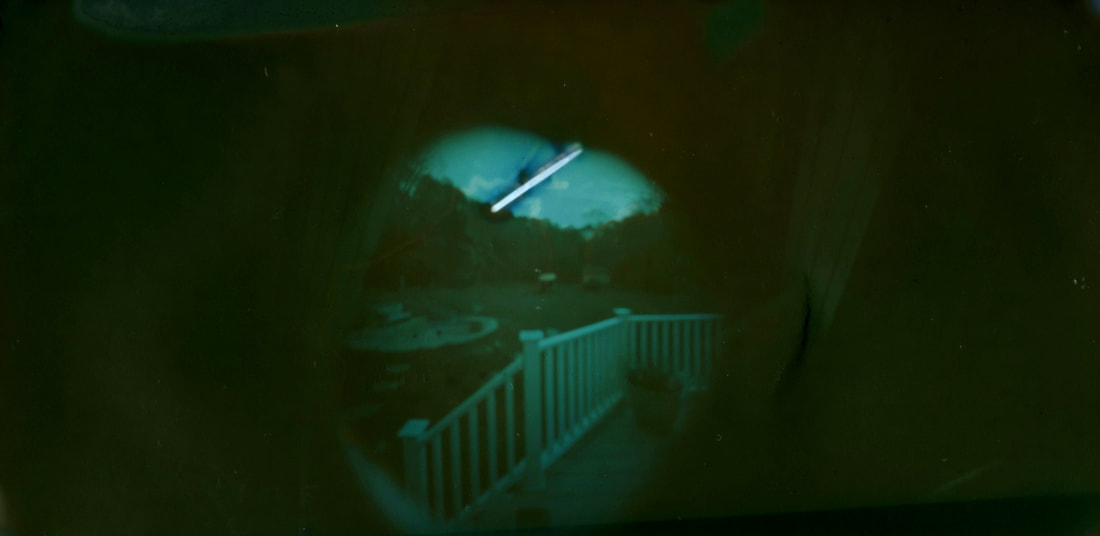
I placed the pinhole camera on a post on my desk in my backyard. I left the camera out for about a week. Due to the storm last week it may have affected the focus of my image. Also the location created my image to a light streak because it was facing towards the sun. The changes I had made to modify my camera before taking the second image was taping it a lot more securely to the post to make sure it wouldn't move. Compared to my in school image, this photo in my opinion is a lot more interesting and much better compositionally. A similarity of my in school and out of school image are the light streak from the sun. Some differences are that my out of school image has much more compositional aspects such as line from the fence. Also it the second image is a lot more clear and visually appealing. In my eyes, I believe that my second image is by far better than my in school photo. My first image had a weak location and was very plain. On the other hand, the second image had a strong location with many more objects to help the composition.
Time

