Studio Portraits
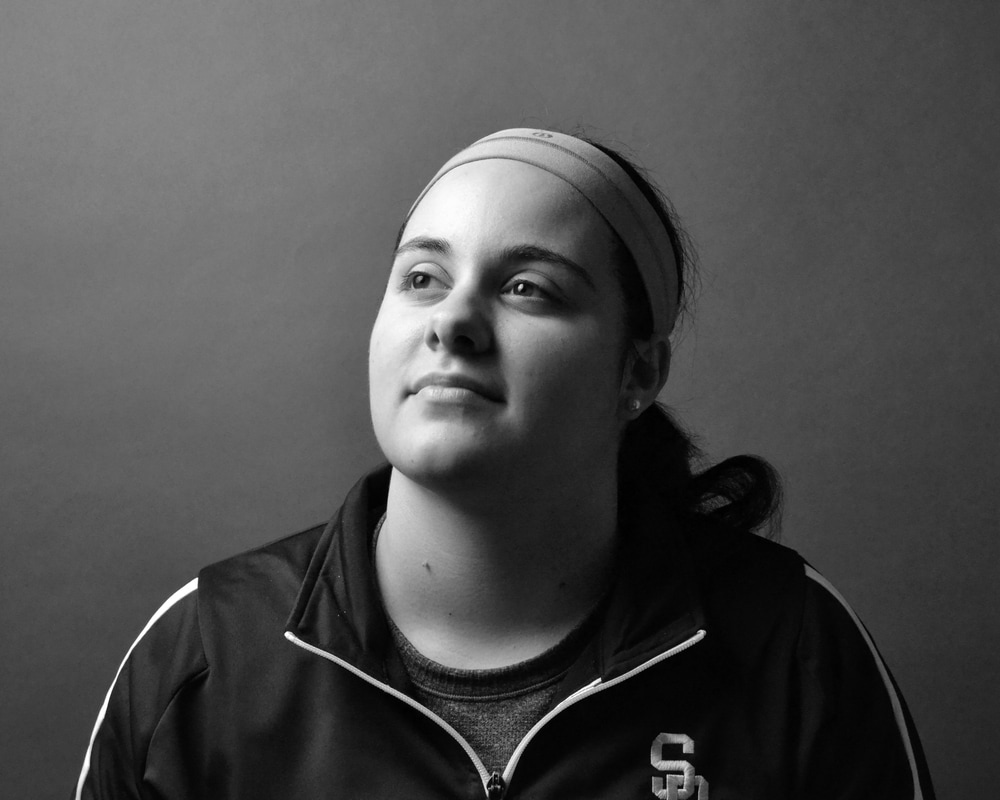


On the top middle picture of Emily, light is coming from the left side. Emily's position/ gesture is sitting on a stool while looking up towards the light. The background of this photo is a black backdrop. The point of view of this photo is straight on and the distance wasn't that far away. The lighting communicates that she has a tranquil gaze on her face. Also her expression and position is very peaceful.
Removing Unwanted Items
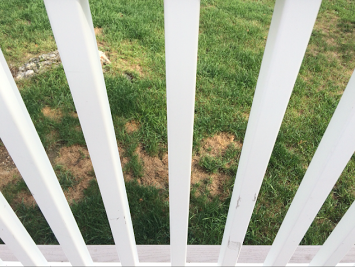
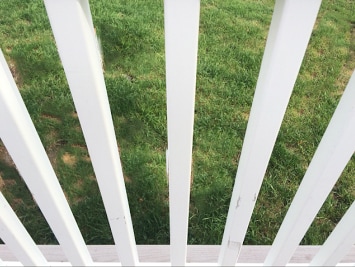
With the photo on the left I wanted to remove all the unwanted dead grass in the background and turn it into bright green grass so it would all blend together perfectly. In photoshop I used the color replacement tool and lasso tool to accomplish the look on the new photo to the right.
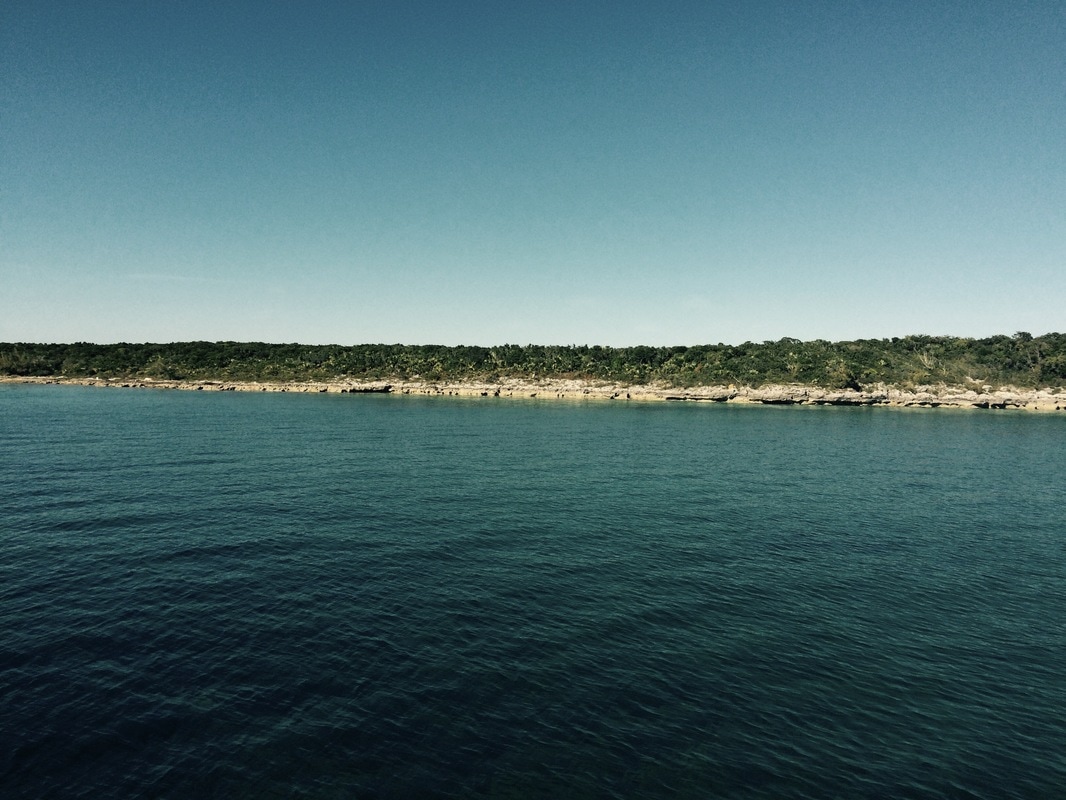
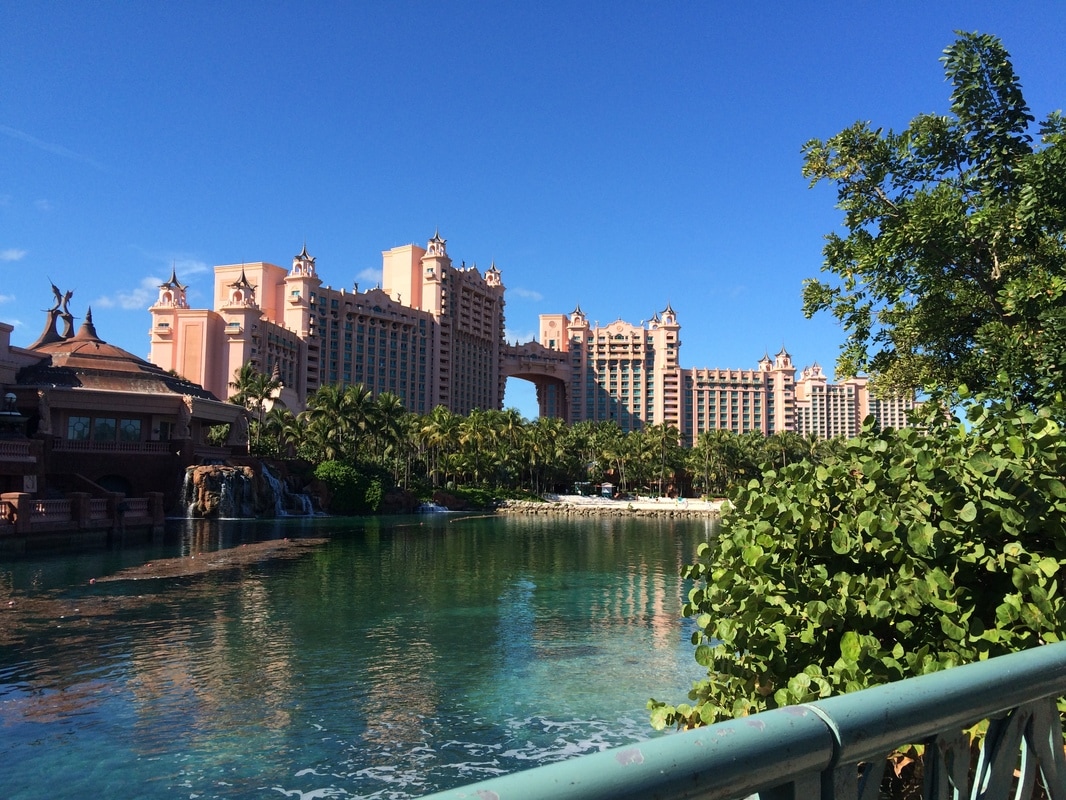
Landscape, Seascape, Cityscape
|
|
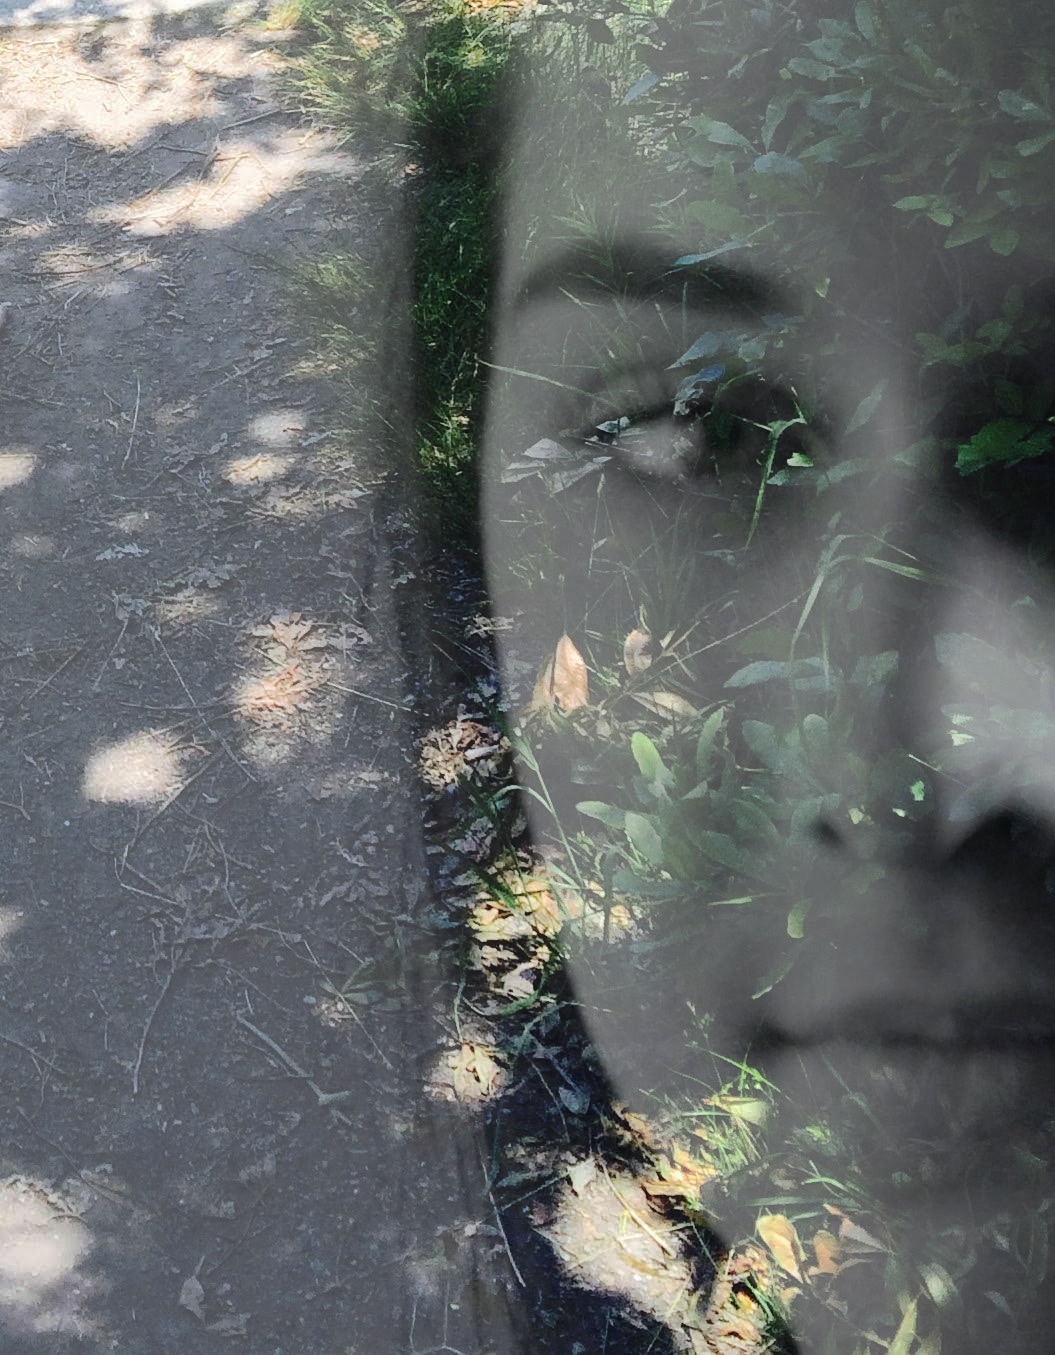
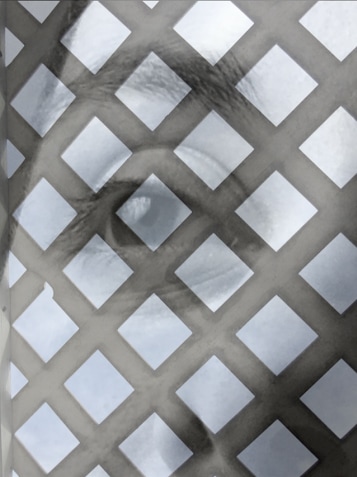
Double Exposure
For the first photo I selected Brooke's self portrait with a photo of a path way with grass and leaves. For the second photo I used Emily's self portrait that I zoomed in to just be her eye, and a photo of the pattern of my porch. These objects relate compositionally because... I manipulated the first photo by placing Brooke's face over the grass photo and then I placed half of her face on the left side near the grass and leaves so it would leave an interesting effect. Then I used tools to make her face blend into the grass a lot better. In the second photo I took Emily's self portrait and placed it onto the photo of my porch and then I zoomed in so it would just be her eye. Lastly I did the same thing as the first photo and used tools to help blend Emily's face into the other photo. The steps I took to merge layers to create a unified was first open photoshop. Then I dragged the two photos I wanted to use into photoshop. Next I went into Windows and went to arrange then scrolled down to click on float all in windows so I would have them in two separate windows. Then I made sure I was on the move tool and dragged one of the photos onto the other. Once my photo was on the other I used the opacity tab and fill tab to get it how I wanted it.
